How to Price Your Video Editing Services
How to Price Your Video Editing Services
Whether you’re a freelance video editor just starting out (on Fiverr for example) or looking to refine your pricing model, one of the biggest challenges is knowing what to charge. Charge too little and you risk burnout. Charge too much, and you might scare away potential clients.
There’s no single right answer for How to Price Your Video Editing Services — but there is a right approach.
In this guide, we’ll walk through the key factors to help you price your video editing services fairly, profitably, and confidently.
Step 1: Understand Your Market
Before setting your rates, research your target market and their expectations. Ask yourself:
- Who are my clients? (YouTubers, businesses, agencies, creators…)
- What kind of videos do they need? (Reels, interviews, ads, vlogs, courses…)
- What’s their average budget?
For example:
- A YouTuber might want low-cost, fast-turnaround edits weekly.
- A corporate client may expect polished edits, revisions, and branding — and pay more.
Browse platforms like Upwork, Fiverr, and Behance to get a sense of what others are charging — but use them only as a reference, not a rule.
Step 2: Know Your Costs and Time
Pricing isn’t just about what others charge — it’s about what your time and effort are worth.
Track how long it takes you to:
- Download and organize footage
- Create a rough cut
- Add music, effects, text, color correction
- Do revisions
- Export and deliver the final video
Then, estimate your hourly rate. For example, if a 5-minute video takes you 6 hours and your goal is $30/hour, your base price should be at least $180.
💡 Tip: Don’t forget to factor in non-billable time (emails, revisions, client meetings) and software costs.
Step 3: Choose a Pricing Structure
There are several ways to charge for your services:
1. Hourly Rate
Ideal for projects with unclear scope.
Pros: Flexible.
Cons: Hard to estimate, clients may worry about time tracking.
2. Per Project
You charge a flat rate based on project type.
Pros: Clear for both sides.
Cons: You carry the risk if the project takes longer than expected.
3. Per Minute of Final Video
You charge based on the length of the final product.
Common in social media content.
Cons: Doesn’t account for complexity or edit time.
4. Retainer or Monthly Packages
Good for long-term clients who need regular content.
Pros: Predictable income.
Cons: Requires consistent availability.
Step 4: Adjust Your Prices Based on Project Complexity
Not all videos require the same level of effort. Two 2-minute videos can vary widely depending on what’s involved.
Here’s how to assess complexity:
| Project Type | Complexity | Factors |
|---|---|---|
| Talking head | Low | Basic cutting, minor audio sync |
| Vlog or tutorial | Medium | Jump cuts, overlays, music |
| Commercial or promo | High | Motion graphics, sound design, branding |
| Course or training | Very High | Long runtime, consistency, chaptering |
Ask the client (or customers on Fiverr) :
- Will you need multiple camera angles synced?
- Should subtitles be included?
- Are there branding requirements or animated assets?
Each element adds time — and value — to your work. Reflect that in your quote.
Step 5: Consider the Client’s Industry and Budget for this video editing
Your pricing should reflect not just your time, but the client’s expectations and resources.
Example:
- A small YouTube channel might budget $100–200 per video.
- A mid-size business may expect to pay $300–800 for a branded piece.
- An agency might allocate $1,000+ per edit for high-end content.
When quoting, don’t just think, “What is this worth to me?” — also ask, “What is this worth to them?”
That’s value-based pricing — and it’s key to working with clients who don’t just want cheap, but want quality.
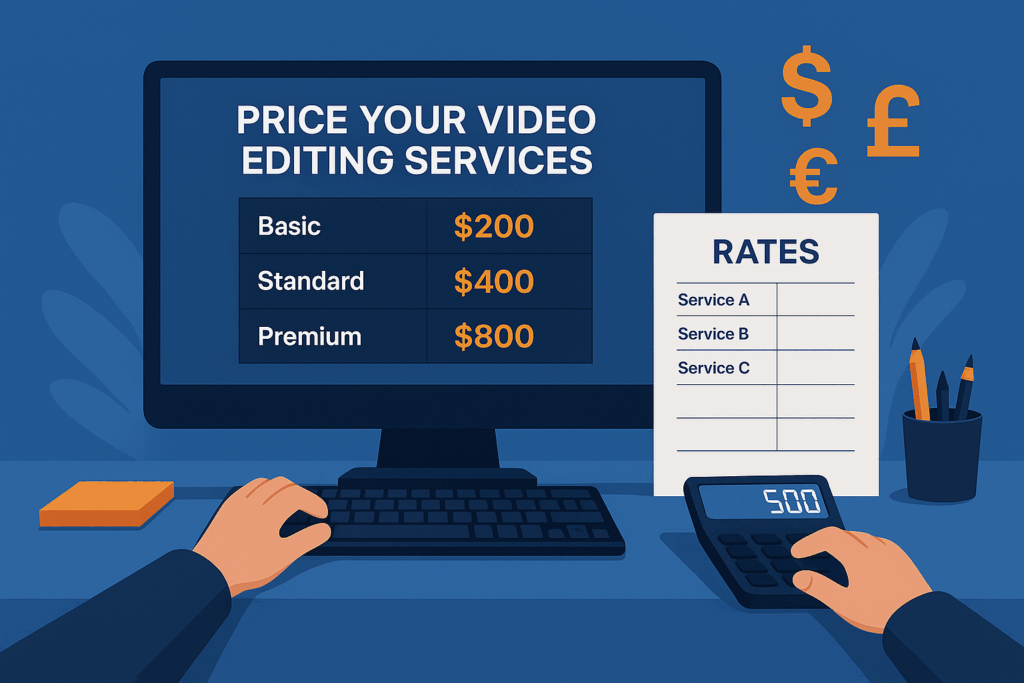
Step 6: Offer Tiered Pricing
Tiered pricing gives clients options — and helps you upsell.
Here’s an example:
| Package | Price | Includes |
|---|---|---|
| Basic | $150 | 1-minute edit, 1 revision, music, simple titles |
| Standard | $300 | 3-minute edit, 2 revisions, color correction, subtitles |
| Premium | $600+ | 5+ minute edit, motion graphics, branding, priority delivery |
Why this works:
- Clients with low budgets feel seen
- Clients with higher standards are happy to pay more
- It sets clear expectations about deliverables and limits
Optional add-ons can include:
- Extra revisions
- Thumbnail creation
- Social media cutdowns
- Subtitle file (SRT)
Step 7: Build in a Margin for Revisions
Revisions are part of the process when performing video editing — but unlimited edits can kill your profit margin.
Set boundaries like:
- “Two rounds of revisions included”
- “Additional edits billed at $X/hour”
- “Major changes after approval = new scope”
Always communicate revision policy before starting.
It’s also helpful to ask detailed questions at the beginning:
- Target duration?
- Mood or tone?
- Examples of edits they like?
- Music preferences?
Clarity early on = fewer edits later.
Step 8: Increase Your Rates Over Time
As your skills grow, your prices should too.
Signs it’s time to raise your rates:
- You’re fully booked and turning down clients
- Clients don’t hesitate or negotiate at your current rates
- You’ve improved your speed, quality, or tools
Start small — 10 to 20% increases — and give existing clients advance notice:
“Starting next month, my standard rate will increase to reflect improved delivery and experience.”
Most serious clients will understand. If they don’t, they likely weren’t a good long-term fit.
Step 9: Be Smart About Discounts
Discounts can be a useful tool — but they need boundaries.
When to offer discounts:
- For bulk orders (e.g., 4 videos/month)
- For long-term clients
- For collaborations or partnerships that offer exposure and real value
When not to discount:
- Just because the client “can’t afford it”
- To win the job when you’ll lose time or money doing it
- Out of fear of saying no
If you offer a discount, make it conditional and clear:
“I can offer 15% off if we agree to a 3-video minimum this month.”
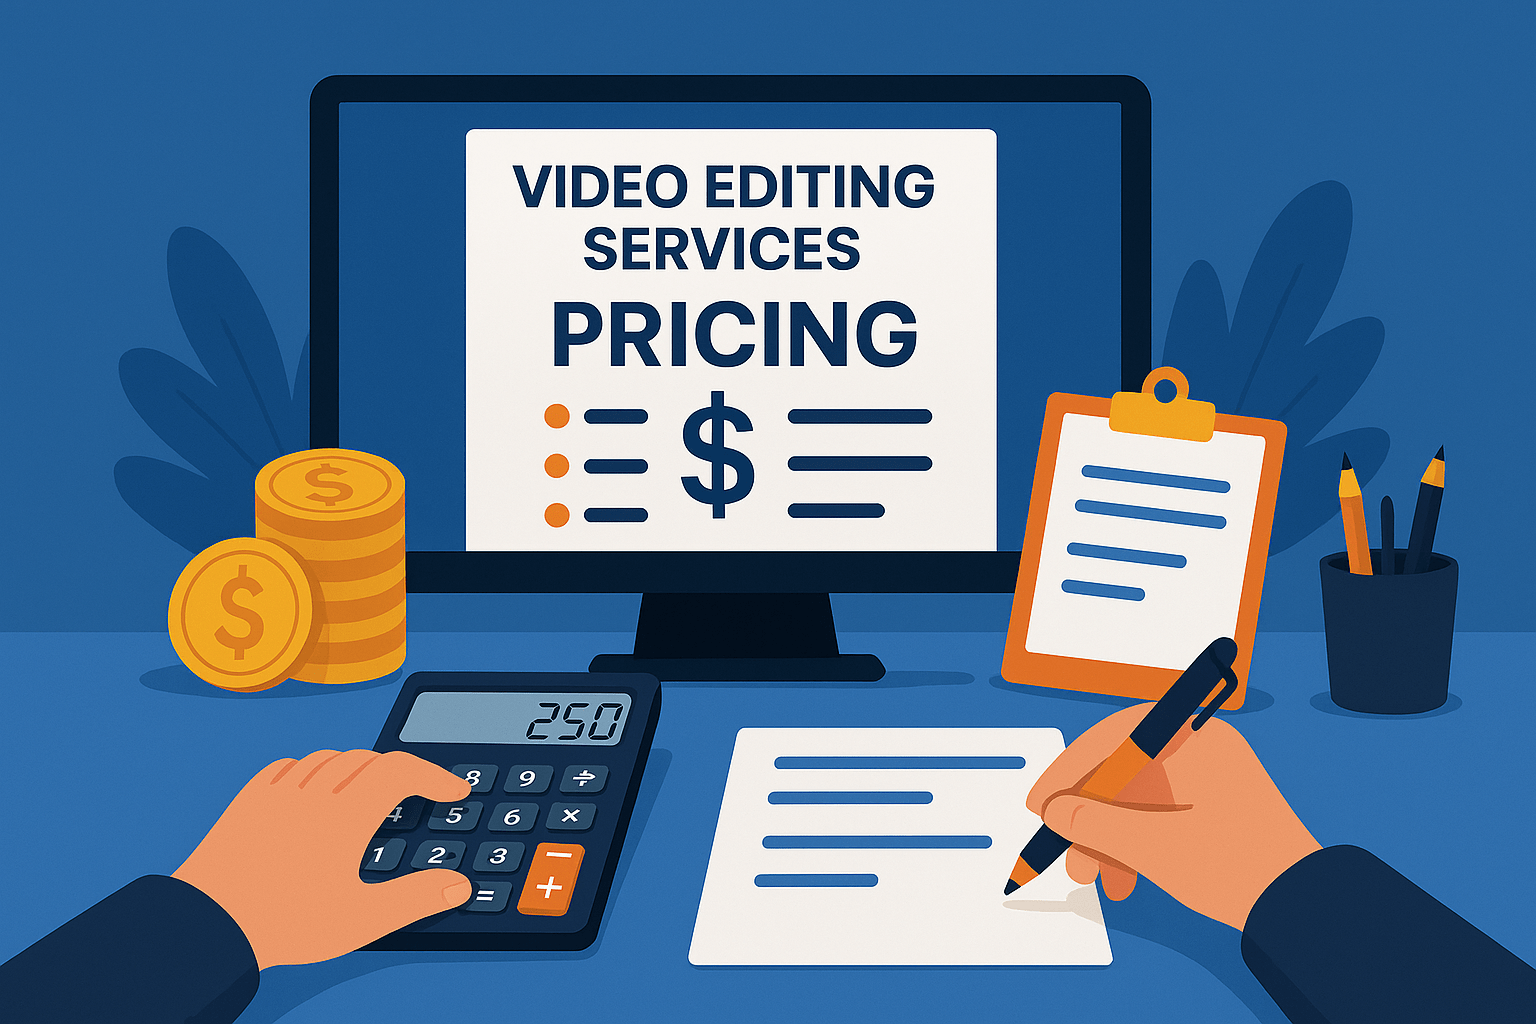
Step 10: Create Professional Estimates or Pricing Pages
A clear pricing structure builds trust and reduces confusion.
Your proposals or pricing pages should include the following for video editing:
- Project scope (duration, format, platform)
- Deliverables (edits, revisions, files)
- Timeline (e.g., delivery within 3–5 business days)
- Revision policy
- Payment terms (deposit, full amount, due dates)
This helps prevent misunderstandings and sets professional boundaries from the start.
Tools that can help:
- Google Docs or Notion for basic proposals
- Bonsai or HoneyBook for automated contracts/invoices
- Canva for clean one-page rate cards
Step 11: Communicate with Confidence
Pricing isn’t just about numbers — it’s about how you talk about them.
Don’t apologize for your rates.
Don’t oversell.
Don’t undersell.
Instead, position your pricing with clarity:
“This is the standard rate for the scope you described. It reflects both the time involved and the value of professional editing.”
The more confident you are, the more clients will trust you.
Final Thoughts
Pricing your video editing services takes more than copying someone else’s rates — it requires knowing your value, your market, and your workflow.
Be flexible, but firm.
Be fair, but sustainable.
Start where you are — and adjust as you grow.
With experience, your pricing becomes not just a number — but a reflection of your expertise and creative impact, Now you know How to Price Your Video Editing Services !