
How to Make a Website: A Beginner’s Guide

How to Make a Website: A Beginner’s Guide
Creating a website has become easier than ever — but that doesn’t mean it’s easy to do well, so how to make a website in a professional way ?

Whether you want to build a personal blog, showcase your work, launch a small business, or start an online store, this guide will walk you through the essential steps to create a website that looks professional and functions smoothly — no prior coding experience needed.
Let’s dive into the step-by-step process to build your first website.
Step 1: Define Your Website’s Purpose
Before touching any tool or template, ask yourself:
“What is this website for?”
Are you building a:
- Personal blog or portfolio?
- Business or agency site?
- E-commerce store?
- Online booking site?
- Nonprofit or informational resource?
Your goal will influence your design choices, content, features, and structure.
How to Create a Website for Your Business (And Why You Shouldn’t Do It Alone)
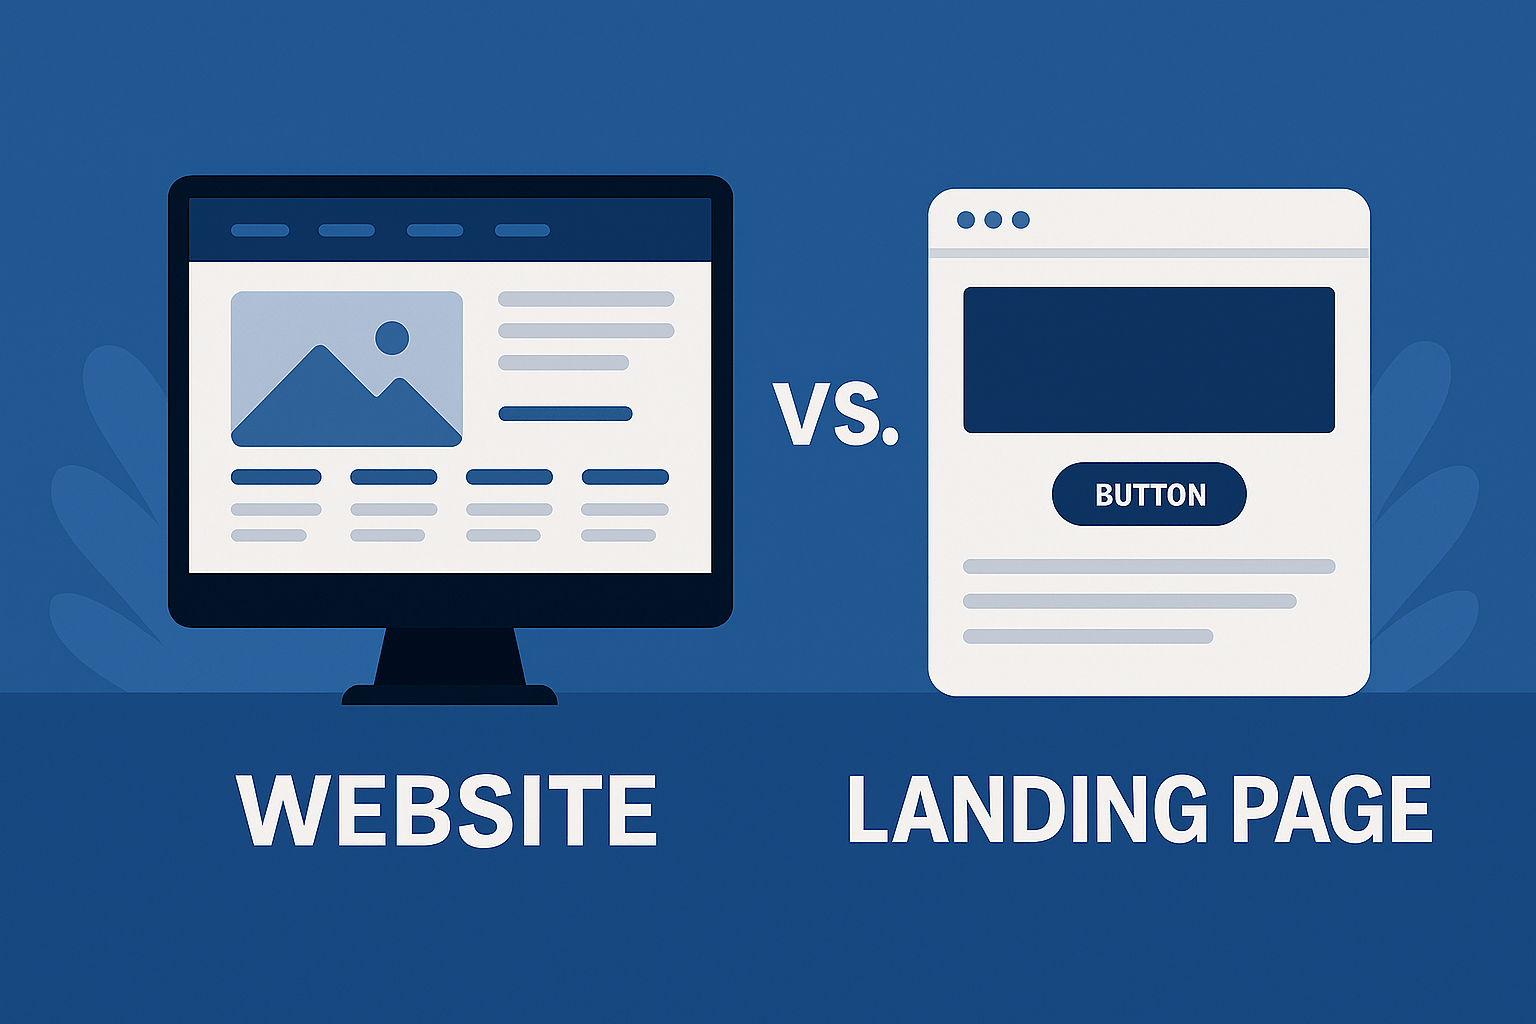
Step 2: Choose a Platform (CMS or Website Builder)
There are two main options when building a site:
🔹 Website Builders (Beginner-Friendly)
No-code, drag-and-drop tools like:
- Wix
- Squarespace
- Shopify (for stores)
- Webflow (for modern design flexibility)
✅ Pros: Easy to use, quick to launch
❌ Cons: Limited customization long term
🔹 Content Management Systems (More Control)
Mainly:
- WordPress (most popular CMS globally)
✅ Pros: Open-source, flexible, huge plugin ecosystem
❌ Cons: Requires setup, maintenance, and hosting
Step 3: Pick a Domain Name
Your domain name is your online address. Ideally, it should be:
- Short and easy to remember
- Relevant to your brand or project
.comis preferred, but.net,.org, or country domains work too
Use registrars like:
- Namecheap
- GoDaddy
- Google Domains
💡 Tip: Avoid hyphens, numbers, or confusing spellings.
Step 4: Choose a Web Hosting Provider
If you’re using WordPress, you’ll need a web host — this is where your site’s files live.
Popular hosts include:
- SiteGround
- Bluehost
- Hostinger
- Kinsta (premium performance)
Look for:
- Fast load times
- Good uptime (99.9%+)
- Support and backups
- One-click WordPress installation
If you’re using a builder like Wix or Shopify, hosting is included.
Step 5: Choose a Template or Theme
Once your domain and platform are ready, it’s time to make your site visually appealing.
Most website builders and CMS platforms offer pre-designed templates or themes that you can customize. Choose one that matches your:
- Industry (e.g., photography, consulting, e-commerce)
- Brand identity (modern, minimalist, creative, corporate)
- Website goals (portfolio, sales, bookings, etc.)
💡 Tip: Choose function over flash. A clean and simple template is often more effective than something overly artistic.
Step 6: Customize Your Site’s Design

This is where your site begins to feel like yours. Focus on:
🎨 Colors & Fonts
Pick 2–3 primary colors that reflect your brand or tone. Use fonts that are readable on all devices.
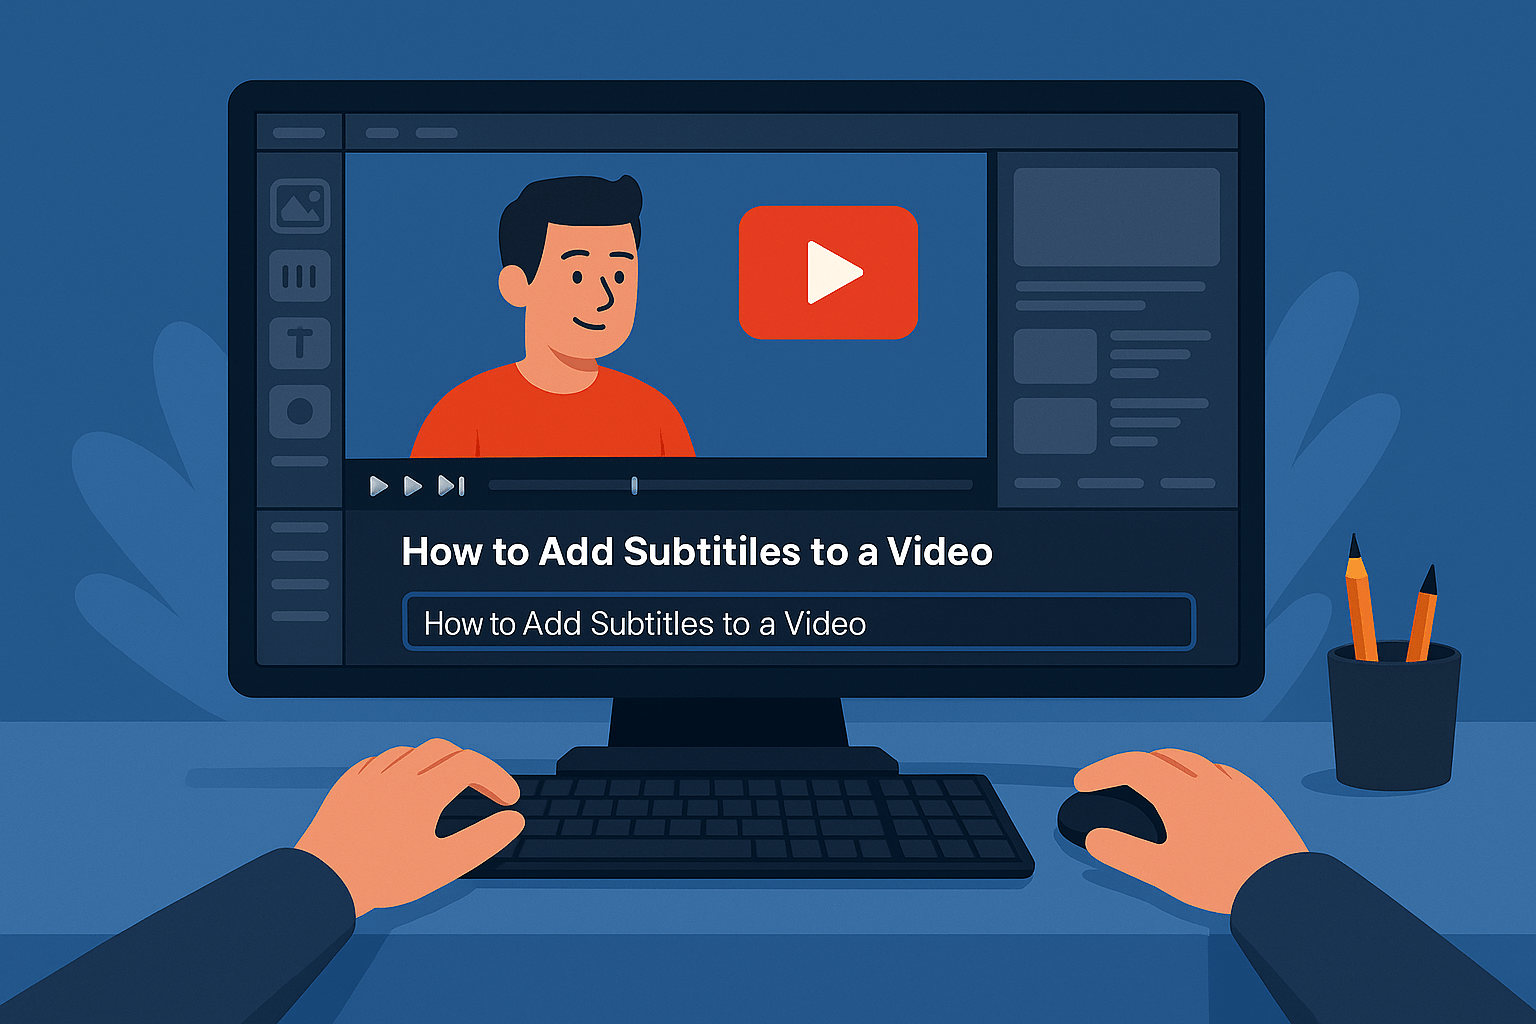
🖼️ Images & Media
Use high-quality visuals — either custom-made or from royalty-free libraries like Pexels, Unsplash, or Pixabay.
📐 Layout & Spacing
Keep plenty of white space for readability. Don’t crowd sections. Make sure your key information stands out at a glance.
Step 7: Create the Core Pages
Your website should include at least these five essential pages:
- Homepage
- Introduces who you are, what you do, and who it’s for
- Clear headline, value proposition, and call-to-action
- About Page
- Tell your story, share your mission or background
- Build trust with photos, credentials, or milestones
- Services or Products Page
- Detail what you offer, pricing (if relevant), and benefits
- Include testimonials or results if possible
- Contact Page
- Simple form or direct contact info
- Include social links and possibly a map (if local)
- Legal Pages
- Privacy Policy, Terms of Service (especially important if collecting data or selling)
Other useful pages:
- Portfolio or Gallery
- Blog or Resources
- FAQ
Step 8: Design for Mobile First
With more than 60% of web traffic coming from mobile devices, your site needs to work seamlessly on phones and tablets.
Check:
- Is text readable on small screens?
- Are buttons easily tappable?
- Does the layout adapt without scrolling sideways?
- Is the menu responsive?
Most modern templates are responsive by default, but always test on multiple devices before publishing.
Step 9: Create Simple Navigation
A clean navigation menu is critical for user experience.
Best practices:
- Limit top-level menu items (5–7 max)
- Use clear, intuitive labels (e.g., “About” instead of “Who We Are”)
- Include a logo that links back to your homepage
- Add a footer menu for extra links, social icons, or legal pages
A confused visitor leaves. Clear navigation keeps them moving forward.
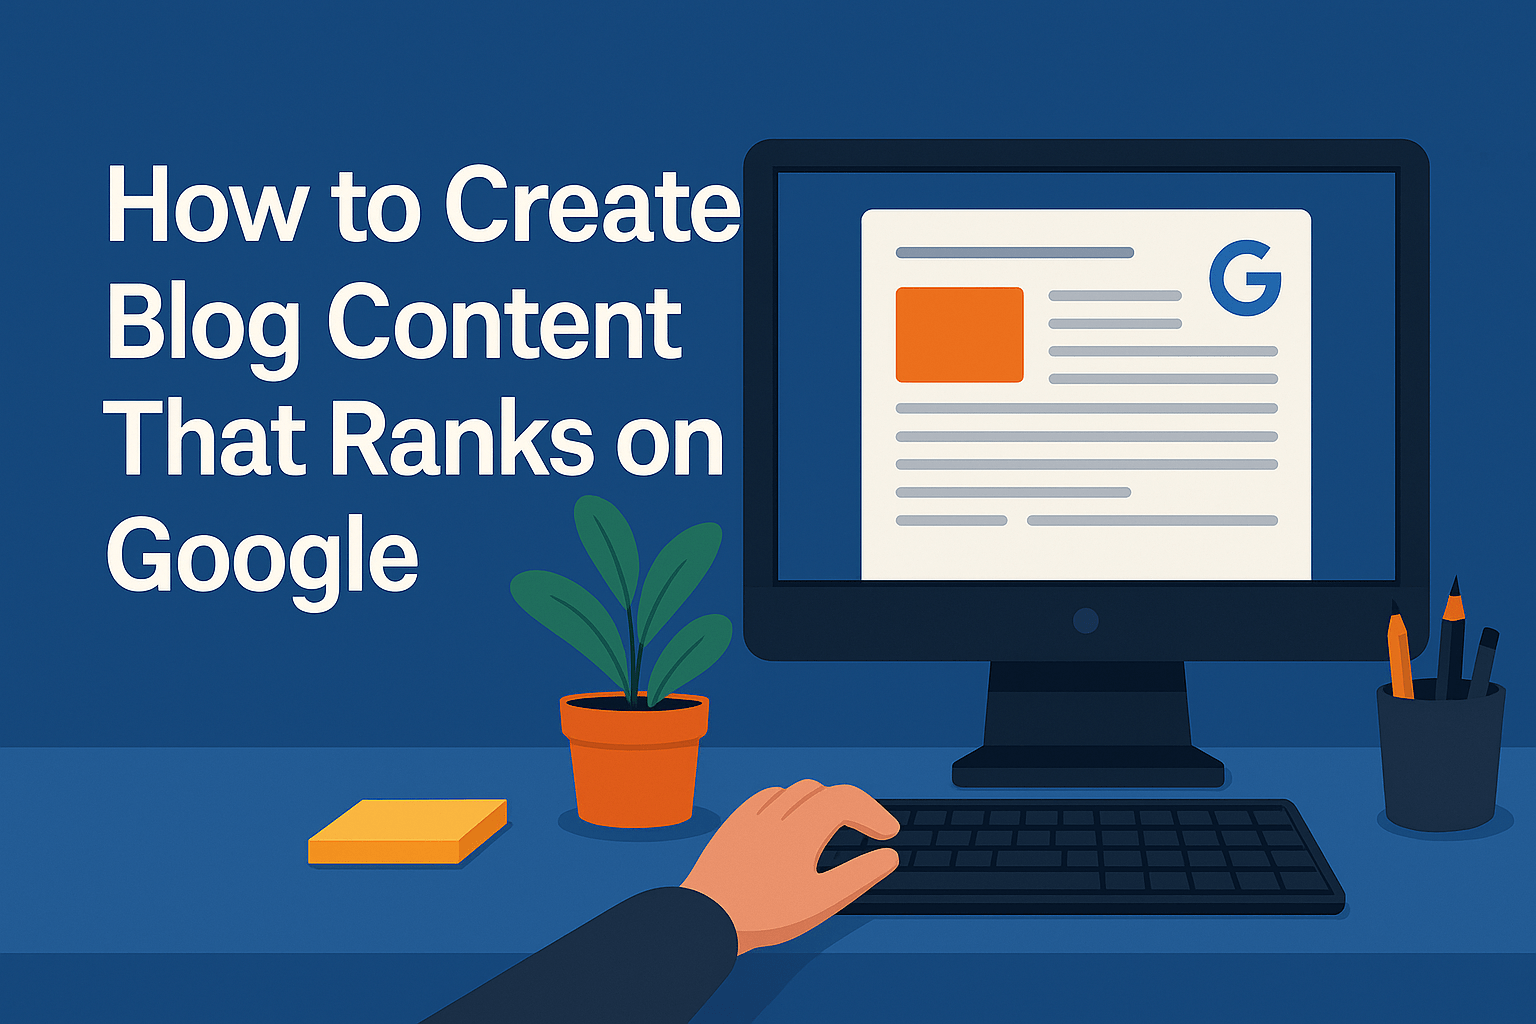
Step 10: Add Basic SEO (Search Engine Optimization)
Before launching your website, take time to make it search-engine friendly. This helps people find your site on Google and other search platforms.
Here are key things to do:
✅ Page Titles & Meta Descriptions
Every page should have a unique and descriptive title (under 60 characters) and a short meta description (under 160 characters). These appear in search results.
✅ Use Headings Correctly
Use only one H1 per page (the main title), then H2 for subtitles, H3 for smaller sections, etc. This helps search engines understand your content hierarchy.
✅ Optimize Images
- Rename image files with relevant keywords (e.g.,
homepage-banner.jpginstead ofIMG_1234.jpg) - Add alt text (descriptive text for screen readers and SEO)
- Compress images to reduce load time (use TinyPNG or built-in tools)
✅ Internal Linking
Link between your own pages (e.g., from blog post to contact page). It keeps visitors on your site longer and improves SEO.
Step 11: Test Before Publishing
Before launching your website to the public, test everything:
- Links: are they working?
- Buttons: are they clickable and doing the right action?
- Forms: do you receive messages from the contact form?
- Spelling/grammar: any typos?
- Load speed: does your site load in under 3 seconds?
- Mobile version: is everything readable and well-placed?
Use tools like:
- Google PageSpeed Insights
- Mobile-Friendly Test
- Grammarly (for quick proofreading)
Step 12: Set Up Security and Backups
A secure website is essential — especially if you’re collecting user info or selling products.
Make sure to:
- Use HTTPS (SSL certificate — often free with hosting)
- Install security plugins (e.g., Wordfence for WordPress)
- Set up automatic backups (daily or weekly)
- Use strong, unique passwords for admin access
💡 Tip: Never use “admin” as your username.
Step 13: Publish and Promote
Once everything looks great and works smoothly, hit “Publish”! 🎉
But your job isn’t over yet — now it’s time to share your website:
- Add it to your social media bios
- Include the link in your email signature
- Share it with friends, clients, and partners
- Submit it to Google Search Console to speed up indexing
Final Thoughts
Creating your own website may seem intimidating at first, but by following a clear structure and using modern tools, anyone can build something professional and effective.
Take your time. Focus on clarity and simplicity. And remember — your website doesn’t have to be perfect on day one. It’s a living project that can evolve as you do.
[…] How to make a website […]