
How to Edit YouTube Videos for Maximum Engagement
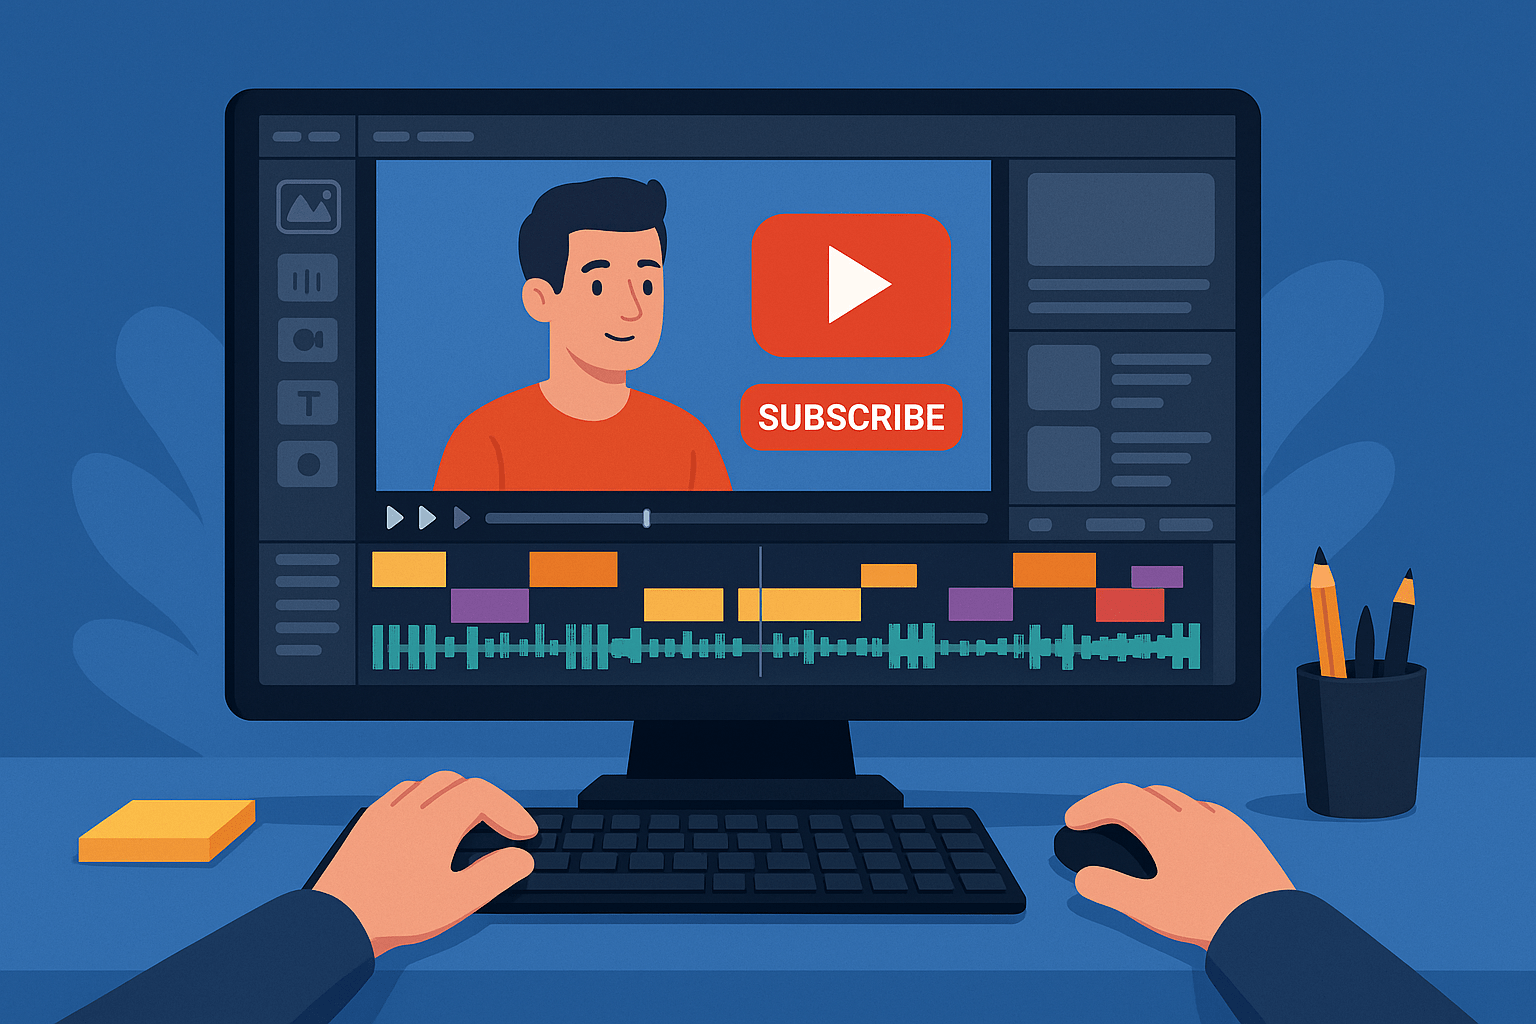
How to Edit YouTube Videos for Maximum Engagement
Editing is where a good YouTube video becomes a great one. While filming is crucial, it’s in the edit that pacing, structure, and viewer retention are truly shaped. In the attention economy, editing can either hook your audience — or lose them within seconds.
This guide walks you through the specific editing techniques and strategies used by successful YouTubers to keep viewers watching longer, clicking more, and coming back for future content.
Step 1: Understand Your Audience and Video Intent
Before opening your editing software, ask yourself:
Who is this video for, and what do I want them to feel or do?
Are you:
- Teaching something? → Prioritize clarity and pacing
- Telling a story? → Build momentum and emotion
- Entertaining? → Keep it fast-paced and visually rich
- Selling something? → Lead to a call-to-action naturally
Knowing the intent helps you cut with purpose — every frame should move the viewer forward.
Step 2: Hook Viewers in the First 10 Seconds
The intro is the most important part of the edit. According to YouTube Analytics, most drop-offs happen within the first 10–15 seconds.
Tips to craft a killer opening:
- Show the most interesting moment right away
- Add a quick “What’s coming” preview (like a trailer)
- Avoid long intros or talking to the camera without energy
- Use jump cuts to eliminate dead time
💡 Don’t start with your logo or a long branded intro. Cut straight to the value.
Step 3: Cut for Pace — But Don’t Rush
One of the biggest mistakes in beginner YouTube editing is leaving in too much fluff. Every pause, hesitation, or tangent can cost you viewers.
Here’s how to keep things tight:
- Use jump cuts to remove filler (uh, um, silence, rambling)
- Layer in b-roll or visual aids to cover cuts and keep interest
- Zoom in slightly on important moments (a.k.a. “punch in” effect)
- Vary the framing (add subtle camera movement or switch angles)
That said, don’t overedit. Natural rhythm matters too — especially in vlogs or storytelling formats. Just increase engagement !
Step 4: Use Retention Tactics Mid-Video to increase engagement
To prevent drop-offs halfway through and increase engagement, use retention triggers every 30–60 seconds:
- Insert text or emojis to emphasize reactions or jokes
- Add sound effects (subtle, not spammy)
- Flash quick memes or pop culture clips (within fair use)
- Use pattern interrupts: quick zooms, color changes, music shifts
- Ask questions or tease what’s coming next
The goal is to reset attention without overwhelming the viewer.
Step 5: Add Seamless Transitions (or None at All)
How to edit YouTube videos YouTube isn’t Hollywood — you don’t need fancy transitions between every clip. In fact, overusing them can hurt your video’s pacing and clarity.
Here’s how to handle transitions effectively:
- Use hard cuts (instant switches) as the default — they’re clean and fast
- Fade to black or cross dissolve only when changing scenes, tones, or time periods
- Motion transitions (whip pans, zooms) can work in energetic content like gaming or challenges — but use sparingly
💡 If the viewer notices your transitions, they’re probably too much.
Step 6: Integrate Music Thoughtfully
Music is one of the most powerful tools in your editing arsenal. It sets tone, builds momentum, and keeps silent moments engaging.
How to use music effectively:
- Choose a track that fits your vibe: upbeat, chill, suspenseful, etc.
- Adjust the volume to stay under dialogue (usually -20 dB to -30 dB)
- Use keyframes to fade in/out music and create emotional impact
- Match edits to the beat during montages or action scenes
Sources for royalty-free music:
- YouTube Audio Library
- Artlist
- Epidemic Sound
- Bensound (free and paid)
Avoid copyrighted songs unless you have explicit rights.
Step 7: Include Clear and Non-Intrusive CTAs

Call-to-actions (CTAs) help guide your viewers — but they shouldn’t break immersion.
Here’s how to add them smoothly:
- Around the 1-minute mark, invite viewers to subscribe if they’re enjoying the video
- Use pop-up graphics for “Like”, “Subscribe”, or “Comment below” prompts
- Don’t overdo it — once or twice per video is enough
- Save any extended CTA (newsletter, merch, etc.) for the final 30 seconds
💡 Make sure your ask is connected to value — “Subscribe for more tutorials like this” works better than “Just subscribe.”
Step 8: End Screens That Keep Viewers Watching
YouTube rewards channels that retain users on the platform — so give your viewers a reason to keep clicking.
Tips for great end screens:
- Use the last 5–10 seconds to preview a related video or playlist
- Leave enough blank space on screen so elements don’t cover your face/text
- Use calls-to-action like “Watch next” or “Continue learning here”
- Match your tone — don’t force a high-energy end to a chill video
Pair this with pinned comments and video descriptions for even more engagement.
Step 9: Edit with Mobile Viewers in Mind
More than 70% of YouTube views come from mobile devices. That means:
- Use big, legible fonts for titles and graphics
- Keep text on screen long enough to read
- Make sure essential visuals are centered and not cut off
- Don’t cram too much into the frame at once
Test your edits on a phone before uploading.
Step 10: Perform a Final Review Before Exporting
Before exporting your video, do one final top-to-bottom check:
- Watch the full video from start to finish — ideally on a fresh day
- Look for spelling mistakes in text overlays or graphics
- Check for audio sync issues, jumps, or awkward pauses
- Make sure the music doesn’t overpower speech
- Ensure calls-to-action and end screen elements are timed right
💡 Consider watching with captions on and with/without sound to catch anything you missed.
Step 11: Export with the Right Settings for YouTube
Exporting your video with correct settings is key to preserving visual quality without massive file sizes.
Here are YouTube’s recommended export settings:
- Format: MP4
- Video Codec: H.264
- Resolution: 1920×1080 (Full HD) or 3840×2160 (4K)
- Frame rate: Same as source (usually 24, 30, or 60 fps)
- Bitrate: 10–20 Mbps for HD, 35–45 Mbps for 4K
- Audio: AAC, 48kHz, 320kbps
Most editing software (Premiere Pro, DaVinci Resolve, Final Cut, etc.) has a YouTube preset you can use and tweak if needed.
Step 12: Create a Custom Thumbnail That Pops
Your edit may be great — but if no one clicks your video, it won’t matter.
A great thumbnail should:
- Be bright, colorful, and easy to read on small screens
- Feature a human face with expressive emotion (if relevant)
- Include large text to reinforce the topic (limit to 3–4 words)
- Be consistent with your channel’s branding style
Use tools like Canva or Photoshop. Export in 1280x720px size and under 2MB.
Step 13: Add Engaging Metadata
When uploading your video to YouTube, don’t forget:
- Title: Include keywords but keep it natural
- Description: Summarize what the video is about, and include relevant links or timestamps
- Tags: Add variations of your topic to help with discoverability
- Chapters (timestamps): Make your video easier to navigate and more clickable
- Cards and End Screens: Link to other relevant videos or playlists
Optimized metadata boosts SEO and increases chances of being recommended.
Final Thoughts
Editing YouTube videos isn’t just about cutting clips — it’s about crafting an experience that keeps viewers engaged from the first second to the last.
With the right pacing, visuals, sound design, and calls-to-action, your videos can do more than just inform or entertain — they can build trust, grow your audience, and drive real results.
Start simple. Edit with intention. Watch your retention grow.

[…] How to Edit YouTube Videos for Maximum Engagement […]