How to Edit Videos: A Step-by-Step Guide
How to Edit Videos: A Step-by-Step Guide
Video editing might seem overwhelming at first — timelines, layers, color grading, audio tracks… But with the right approach, it becomes a powerful skill that allows you to tell stories, promote ideas, and create content that stands out.
This guide walks you through each step of the video editing process — from organizing your footage to exporting a final product — whether you’re working on YouTube content, social media clips, or short films, so let’s see some basic video editing steps.
Video editing tutorial
Step 1: Choose Your Editing Software
Befor learning how to edit videos you need to choose your editing software ! Here’s no universal best software — it depends on your needs, budget, and hardware. Here are a few great options:
- Beginner-friendly
- iMovie (Mac)
- Clipchamp (Windows)
- CapCut (mobile/desktop)
- Professional level
- Adobe Premiere Pro
- Final Cut Pro (Mac only)
- DaVinci Resolve (great free version)
💡 Tip: Start with free or trial versions to find what suits you.
Step 2: Organize Your Files Before You Start
Good editing starts with good organization. Create a dedicated folder structure:
Project Folder
├── Footage
├── Music
├── Sound Effects
├── Images / Graphics
├── Exports
Rename clips clearly (e.g., “Intro_Take1”, “Interview_Broll”) and back everything up. This saves you hours later.
Step 3: Import and Create a Timeline
Open your software and start a new project.
Then:
- Import your assets (drag and drop into the media bin)
- Create a timeline (also called a sequence)
- Drag your main footage onto the timeline as the starting point
Make sure your timeline settings (resolution and frame rate) match your source footage, especially for smoother playback and export.
Step 4: Rough Cut — Trim and Arrange
This is where the real editing begins. In the rough cut phase:
- Trim: Remove mistakes, dead air, or irrelevant parts
- Arrange: Place your clips in logical order to tell the story
- Split and Move: Use cut tools to divide long clips and rearrange parts
- Add B-roll: Overlay relevant secondary footage for visual interest
Don’t worry about perfection yet — focus on structure and clarity.
Step 5: Add Music and Sound Effects
Sound is just as important as visuals. Once your rough cut is ready, start enhancing it with audio:
🎵 Add Background Music
Choose royalty-free music from platforms like:
- YouTube Audio Library
- Epidemic Sound
- Artlist
- Mixkit (free)
Adjust the music volume to avoid overpowering dialogue. Use keyframes or the “ducking” technique to lower music volume during voiceovers or interviews.
🔊 Use Sound Effects (SFX)
Even subtle sounds like clicks, whooshes, or ambient background noise can add realism and engagement. Don’t overuse them — aim for clarity and immersion.
💡 Tip: Always fade in/out music to avoid abrupt starts and stops.
Step 6: Add Transitions
Transitions help connect your clips smoothly. But less is more.
Use these sparingly:
- Hard cuts (default, clean)
- Cross dissolves (for time lapses or emotional scenes)
- Slide or zoom transitions (for fast-paced videos)
Avoid cheesy or complex transitions unless you’re editing for a specific creative effect — they can distract rather than impress.
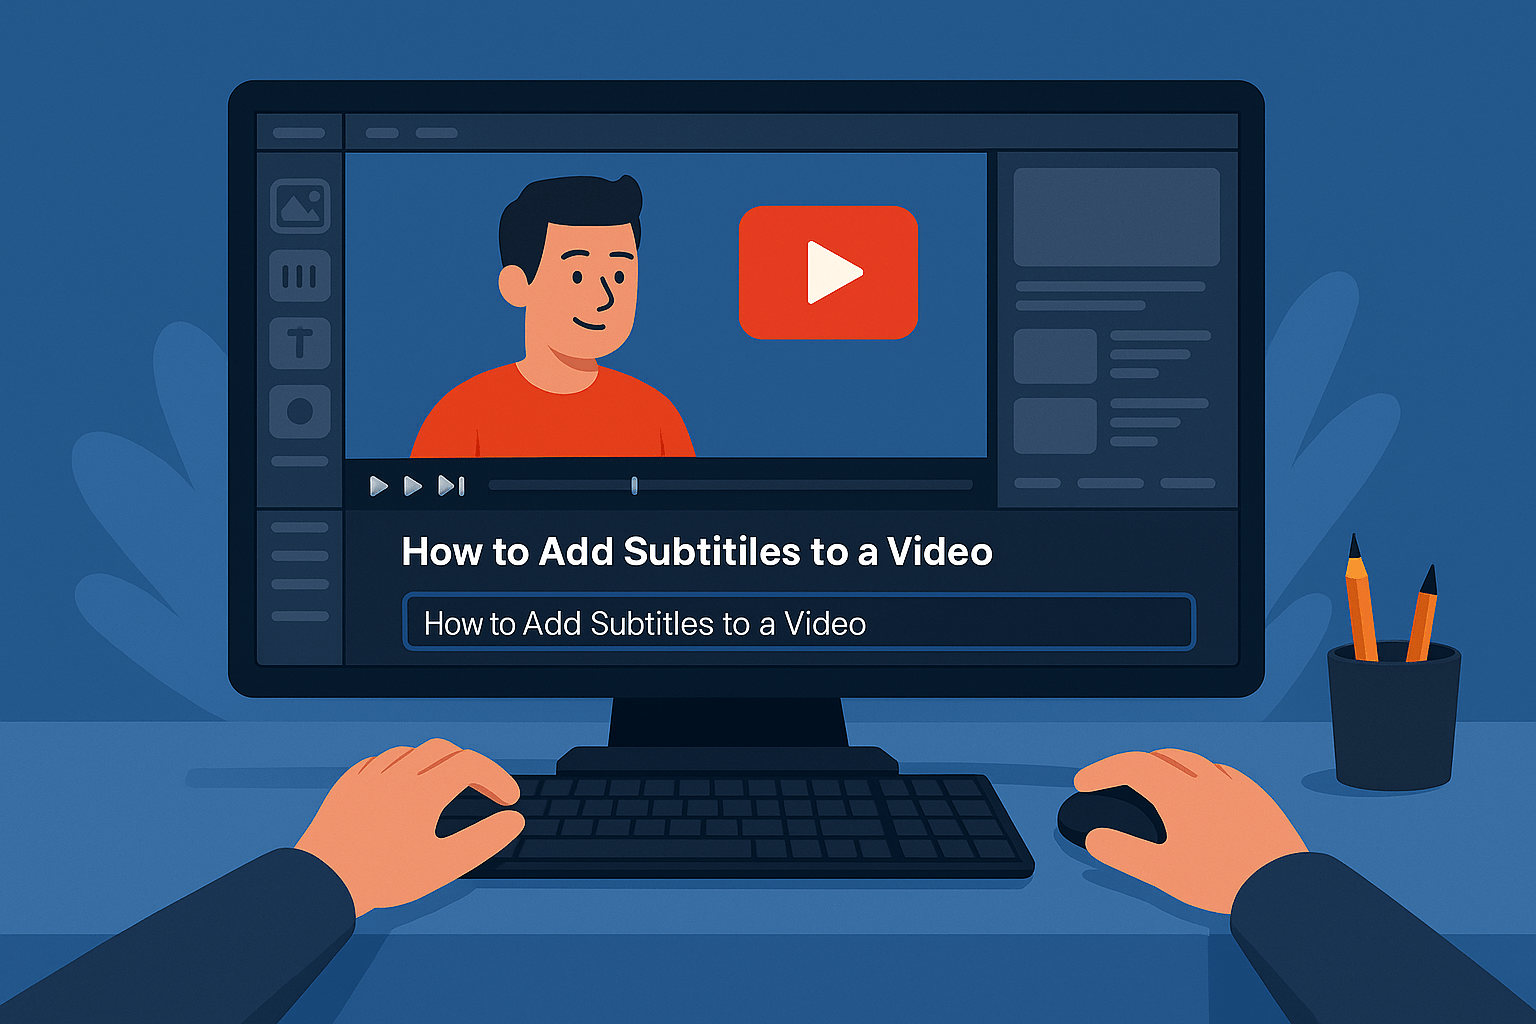
Step 7: Insert Titles and Text
Text can serve many purposes:
- Opening title (introduce the video)
- Lower thirds (names, context, locations)
- Callouts (highlight key info)
- Captions (accessibility & retention)
Make sure the fonts, colors, and placement are consistent and legible. Use brand colors if applicable, and avoid overloading the screen with too much text.
Some basic video editing steps : For social media videos, consider burned-in subtitles — they keep users engaged even when watching without sound.
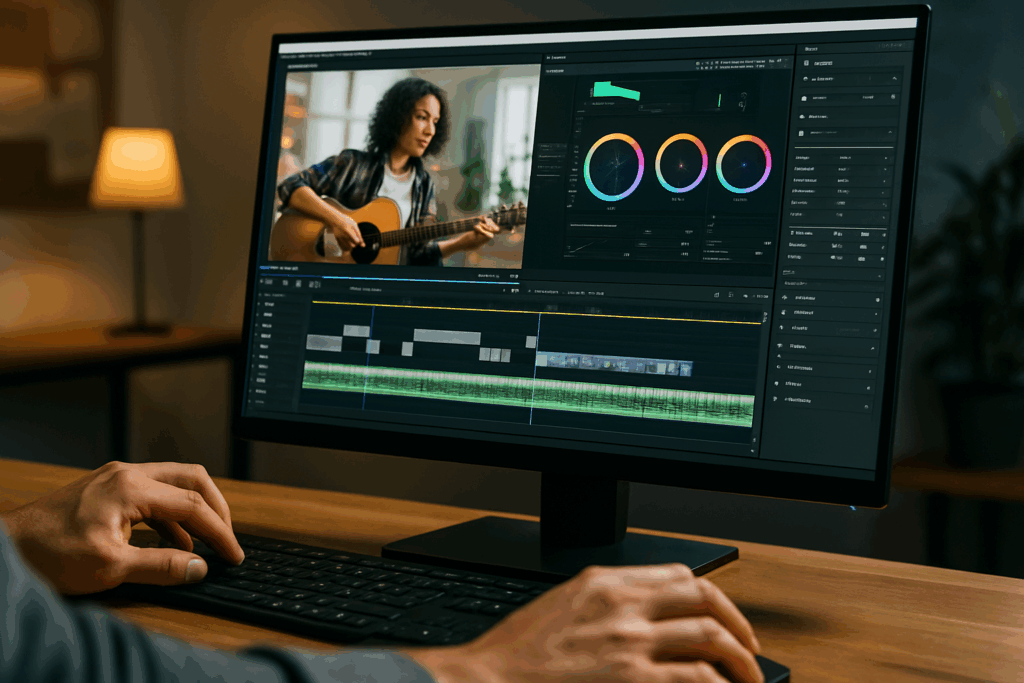
Step 8: Apply Color Correction and Grading
This step polishes the look of your video:
- Color correction = fix exposure, white balance, and contrast so your clips look natural and consistent.
- Color grading = stylize your footage (e.g., cinematic, warm, moody, retro)
Most editors include tools like:
- Histogram / scopes
- Curves and color wheels
- LUTs (Look-Up Tables) to apply film-like tones
Start small — match shots to each other before going artistic. Consistency is key.
Step 9: Watch Your Edit All the Way Through
Before exporting, always review your full timeline from start to finish — with fresh eyes (or even the next day if possible).
Look out for:
- Awkward cuts or pacing issues
- Audio sync problems
- Typos in text overlays
- Inconsistent volume levels
- Visual distractions or abrupt transitions
💡 Tip: Watch with headphones, then without, to catch both audio and visual issues.
You can also ask a friend or colleague to preview your video. A second opinion often catches small mistakes you may have missed.
Step 10: Export Your Final Video
Now it’s time to turn your timeline into a shareable video file.
When exporting, consider:
- Resolution: 1920×1080 (Full HD) is standard. Use 4K only if needed.
- Format: MP4 (H.264 codec) for universal compatibility and balance between quality/file size.
- Bitrate: Variable bitrate (VBR) at 10–20 Mbps for HD. Too low = artifacts, too high = heavy files.
- Frame rate: Keep the same as original footage (usually 24, 30, or 60fps).
Most software includes presets for YouTube, Instagram, TikTok, etc. Use them to simplify your workflow.
Step 11: Backup and Organize Your Project Files
Once your project is done:
- Save your final export in a dedicated “Final Videos” folder
- Archive your project file and assets for future edits or revisions
- Consider uploading a copy to cloud storage (Google Drive, Dropbox, etc.)
This helps with organization, and protects you in case a client or collaborator needs future changes.
Common Mistakes to Avoid
- Overediting – Fancy effects can ruin pacing. Stick to what serves the story.
- Neglecting audio – Bad sound quality is more noticeable than shaky footage.
- Using copyrighted music – Can get your video muted, removed, or demonetized.
- Ignoring export settings – A great edit looks bad with the wrong format or compression.
- Skipping backups – Crashes happen. Auto-save and cloud storage are your best friends.
Final Thoughts
How to edit videos ? Video editing isn’t just a technical skill — it’s a creative process. The tools and techniques will evolve, but the core goal stays the same: communicate clearly, creatively, and effectively.
Whether you’re editing vlogs, promos, tutorials, or short films, the process is about crafting a story from raw footage.
Start simple. Focus on structure. Build up from there.
And most importantly — keep practicing !